Illuminating Sprites with Iffpencil2
BACK TO IFFPENCIL TO FINISH OFF
YES! Finish! Isn't it marvelous?
Time to light the lights. Open the table in IffPencil again. You did close it last time right? I hope so because IffPencil did not update with these new lights-only sprites or with their new X and Y positions. If you did not close it then close it now WITHOUT saving. And open the table in it again with the nice new changes.
We need to go back into the DRGP Properties for this final step so double click the DRGP 100 to open the Drawgroup Editor and choose the Properties button.
The first item is automatically highlighted and in this case that's #100 - our table sprite. Highlight the other one (#101,our lights only) instead and down at the bottom under the Item Properties section check off "Luminous". Hit OK to exit this window, down arrow twice to go to the next and, again, choose the second item and check Luminous. Continue through all twelve remembering it's the second item you want highlighted.
When all twelve "frames" are done Save and you, baby, have done it. Fire the game up and have a look. Place it out of doors and wait for nightfall.
YOU ARE ALL DONE
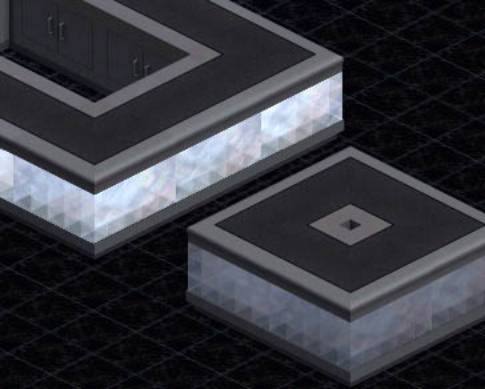
The lights on this piece are small strips and the effect is a much more subtle one than other pieces might be but it's a really nice overall effect but if you prefer you can always recolor the light strips increasing saturation and/or change the color.
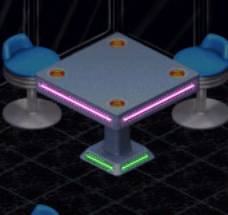
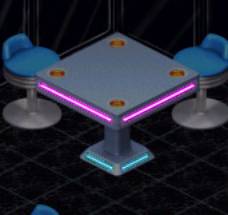
As you can see in the right hand picture above, the poor masking job I did on the left hand pink light stands out even more once I started fiddling with the color
I did this to the boutique counters before deciding the table would be a better example for this tutorial. The larger "light" is anything but subtle.